Spooky Monster Green Smoothies
Serves: 1-2
Turn your favorite green smoothie spooky this Halloween! The kids will love how fun these monster mugs are, and you’ll love incorporating some healthy stuff into their Halloween treat routine. It is all about balance, right?
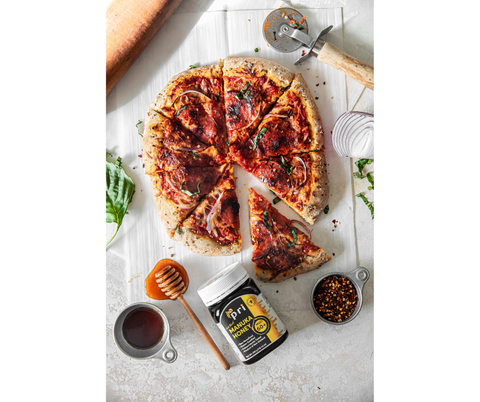
Just take your go-to green smoothie, or try our favorite recipe full of antioxidants, protein, vitamins, minerals, and, of course, the incredible antibacterial and anti-inflammatory benefits of Manuka Honey.
Then use crushed cookies, googly eyes, and PB cups to create your very own monster!

Ingredients:
- 1 Cup Unsweetened Almond Milk
- 1 Cup Spinach
- 2 Frozen Bananas
- 2 Scoops Of Vanilla Protein Powder (Optional)
- 1 Tbsp PRI Manuka Honey 150+ (Or More For Desired Sweetness)
- 1 Tbsp Peanut Butter
- 1 Tsp Matcha Powder
- 4-5 Chocolate Creme Sandwich Cookies (Crushed)
- Googly Eyes
- Optional Toppings: Peanut Butter Cups
Instructions:
- Crush cookies in a zip-loc bag or food processor until you have cookie crumbs, then set aside.
- In a high-speed blender, blend one cup of spinach with one cup of almond milk until the spinach gets broken down as much as possible and you have a green liquid.
- Then add frozen bananas, vanilla protein powder, manuka honey, peanut butter, and matcha powder.
- Blend until smooth and then transfer to a jar. There should be no spinach bits in the smoothie.
- Pour the smoothie into a glass and then top with cookie crumbles.
- Then add the googly eyes to the top or “glue” them to the side of the glass with melted chocolate.
- You can add peanut butter cups for the ears or place them on top for a Shrek-like monster!