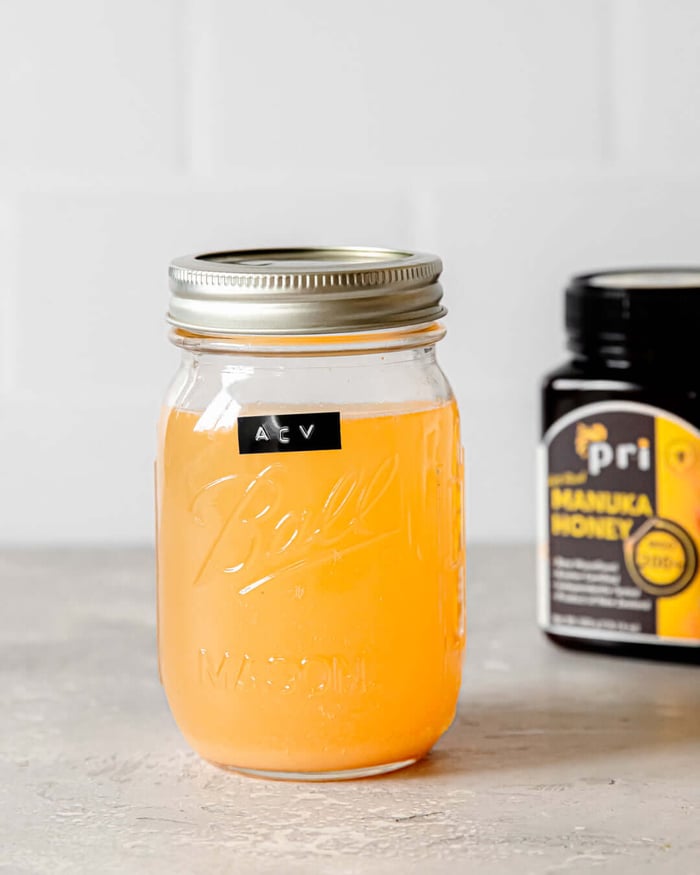

We found out that you can make your own ACV using leftover apple cores and peels!! Minds blown, we immediately tried it ourselves, but using manuka honey instead of sugar…of course 😉
Replace your usual ACV shot with this manuka honey version to add even more benefits.Use this as a tasty base to your own teas, shrubs or cocktails like this immune & digestive supporting drink made by our friend Colleen: https://www.growforagecookferment.com/manuka-honey-vinegar-elixir/
You can even incorporate it into your beauty routine. Later this month we’ll share one of our favorite ACV cuticle oil recipes using our homemade vinegar so make sure to stay tuned!
No matter how you use it, this homemade ACV is another great way to easily incorporate manuka into your routine.

Homemade Apple Cider Vinegar with Manuka Honey
What you need:
- Apple cores, peels, or chunks.
- PRI Manuka Honey 200+
- Mason Jar (a quart or half gallon)
- Filtered Water
Instructions:
- Fill your mason jar 3/4 of the way with apple peels and cores.
- Stir 2 tbsp of manuka honey into 2 cups of warm filtered water in a mason jar. Secure a lid and shake vigorously until the honey is dissolved. (If you’re making bigger batches 1 cup of manuka honey per gallo of water, or 1 tbsp per 1 cup of water)
- Pour sweetened water over the apples and leave 2 to 3 inches of room at the top of the jar. How much water you need depends on the amount of apples used and the size of your container
- Once the apples, water, and sugar are all combined, cover your container with a breathable material like a tea towel or cheesecloth.
- Set the mason jar in a location around 70 to 75°F, if possible. As this is the ideal temperature range for fermentation. The container of fermenting apples should also be kept in a dark location. Keep it out on the kitchen counter or by a window and cover it in a dark towel.
- Stir the fermenting apples everyday for the first two weeks! In the first few days add some more honey to the mixture if needed. This part is very important as it ensures apples are rotating at the top and not exposed to air too long to grow mold. Stirring prevents mold. It’s okay if you miss a day or two but try to remember everyday during the first week.
- You’ll notice the apples will start to turn brown and the liquid will become cloudy. Small bubbles should begin to appear like a carbonated drink, and it will start to smell a bit like hard apple cider. A layer of sediment may collect on the bottom of the glass and this is totally normal during the fermenting process. It’s pretty obvious what is mold and what is not.
- After two weeks you can stop stirring. Then, you can strain out the apple scraps from the liquid with a sieve and cheesecloth. You can then transfer the liquid to a smaller jar to ferment if you wish.
- Cover the jar with fresh cheesecloth and then set the fermenting cider in a warm, dark place for about 4-6 weeks. The apple cider vinegar is complete when it has a strong apple cider vinegar smell and taste. Allow to ferment longer, if not. Don’t be alarmed if you notice a mother culture forming on top. This is normal and part of the fermentation process and is like a SCOBY in kombucha.
- Once the apple cider vinegar reaches the perfect vinegar taste, secure the apple cider vinegar in a jar with a tight fitting lid and refrigerate or store at room temperature. Use as you would store bought apple cider vinegar: for cooking, baking, cleaning or anything you desire!